Table of Contents
Installation of ASI MS-2000 Automated XY stage onto Leica DMRB Microscope
This procedure outlines the steps necessary to install the ASI MS-2000 automated XY stage onto Leica DMRB microscope. The procedure has 4 steps:
- Removing the condenser carrier.
- Removing the original mechanical xy stage.
- Installing the ASI MS-2000 automated XY stage.
- Replacing the condenser carrier.
Step # 1 Removing the condenser carrier.
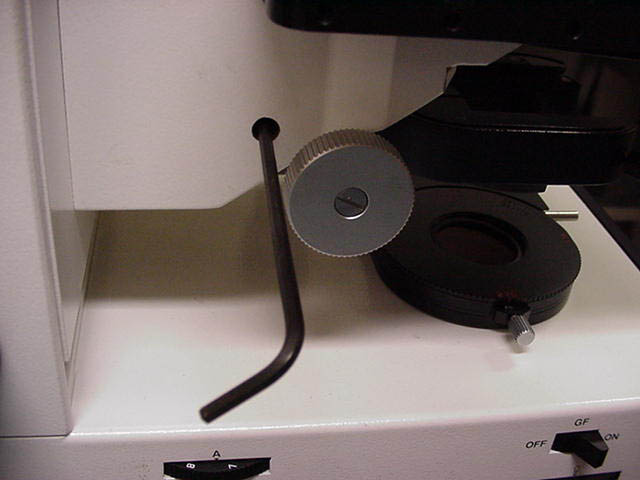
To gain access to the 3 ea. 4x8mm screws that secure the original mechanical xy stage the condenser carrier must be removed. Use a 3mm Allen wrench as shown in figure # 1 to loosen the set screw that secures the carrier. Please Note: When loosening this screw be certain that you use one hand to hold the condenser carrier as once the screw is loosened the carrier will drop down and may then be removed and set aside.
Step 2 Removing the original mechanical xy stage.
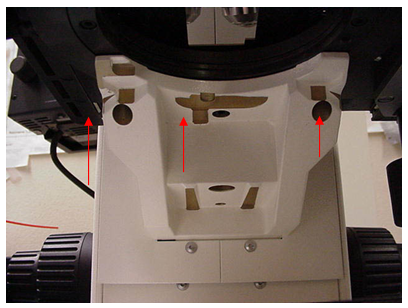
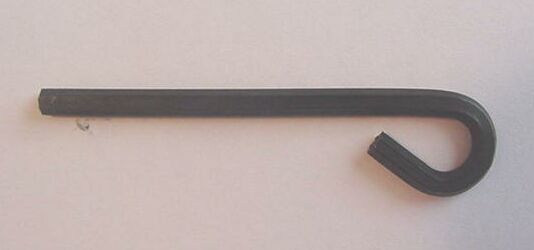
Once the condenser carrier has been removed then the original mechanical stage can be taken off the microscope. The stage is secured to the microscope with 3 ea. 4 x 8 mm socket head cap screws. The location of these screws is shown in figure # 2. Please Note: When removing these screws be certain to use one hand to hold onto the stage when the last screw is removed so that the stage does not “fall off” which could damage the objectives. To remove the screws use the special 3mm Allen wrench shown in Figure #2a.
Step 3 Installing the ASI MS-2000 automated XY stage
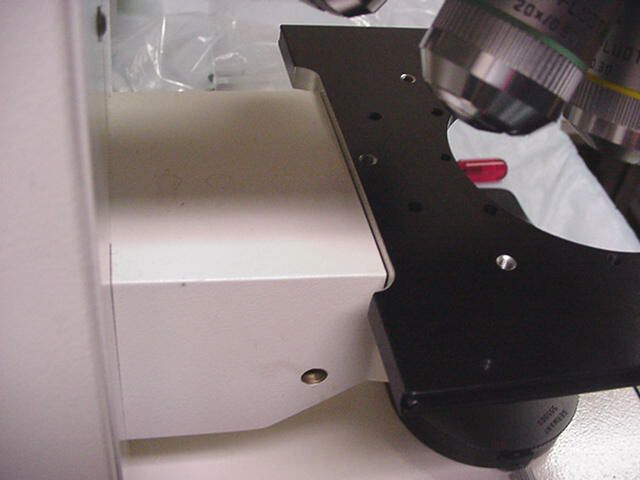
Locate the ASI stage and align it as shown in figure 3 so that the holes in the stage align with the holes in the stage carrier. Use the longer 4 x 10 mm screws to attach the stage, these screws may be attached to the stage, or in a bag with the 3mm stage wrench. Please Note: Do not use any screws that are longer than 10 mm as they will interfere with middle plate and will damage the stage. Align the stage so that it is parallel with the rear of the microscope and secure it in place with the screws provide. Insure that the screws are securely tightened to hold the stage in place.
Step 4 Replacing the condenser carrier
Replace the condenser carrier in the reverse order as given in step #1.