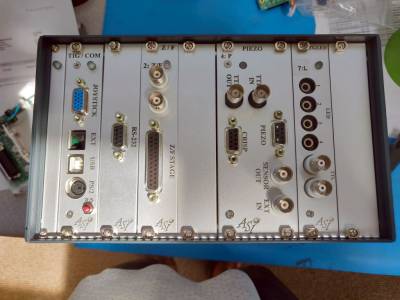
Adding RS232 Connector to Tiger Controller
Tiger controllers have a physical USB interface but the connection is an emulated RS232 port (i.e. it will show up as a COM port in Windows via a SiliconLabs IC). See our page on RS232 communication. This technote will guide you on how to install a hardwired RS232 connector to Tiger Controller.
All Tiger controllers ship with a USB connector, it is configured as a virtual COM port and conducts UART/serial communications with a PC. On request, ASI can provide a traditional Female DB9 RS232 connector as well. This a mirror of the USB com port and not a new UART channel.
This connector plugs into the 10pin header connector on the Tiger Comm card labeled “RS232”. So the RS232 connector needs to be situated right next to the Tiger Comm card in the controller case. If a card is already present, relocate it elsewhere in the case, it is not vital which slot position a card occupies. Remove the card by unscrewing the two screws located at the top and bottom of the panel.
Connect the RS232 to the Tiger comm card, place the panel, and screw it into the case with the two screws on the panel.
Install is now complete, and no firmware update is needed. The Tiger controller can now communicate with a PC over an RS232 interface with a DB9 null modem cable at 115200 baud rate.


