Repairing the FW-1000-4-40mm Filter Wheel Encoder Head
Be sure the power is off and the Wheel is removed from the controller. You will need a Phillips screwdriver, a 7/64” hex ball driver, a 3/32” hex ball driver, a 4mm hex ball driver, two small Allen wrenches and the replacement encoder.
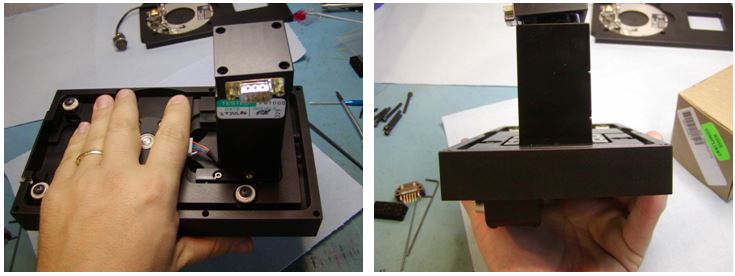
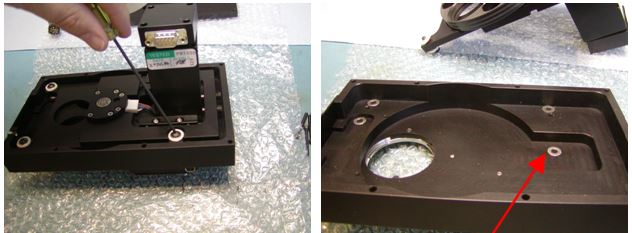
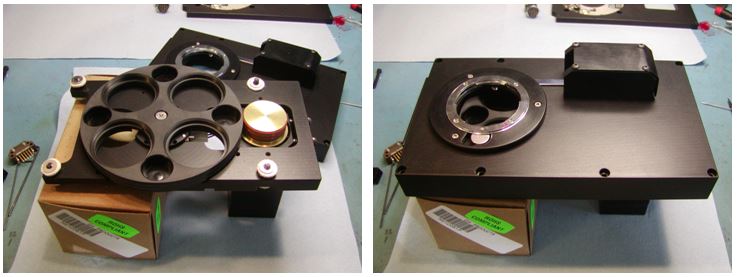
Step 1: Find a small box that is approximately the size of the motor cartridge to place the wheel on. Unscrew the nine lid screws with the 7/64” driver and remove them. Flip the wheel over and remove the four motor cartage cover screws with the 3/32” driver. Then remove the lid and set it aside on its face to prevent damaging the shutter.
Step 2: Unscrew the four mounting screws from the lid using the 3/32” driver and set the case aside. There should be four spacing washers in the case when the wheel is removed.
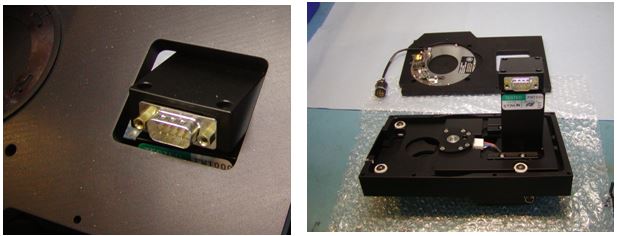
(Step 3: the removal of the motor cartage is optional if there is enough room between the cartage and her bearing cover to unplug the connector and get the encoder out).
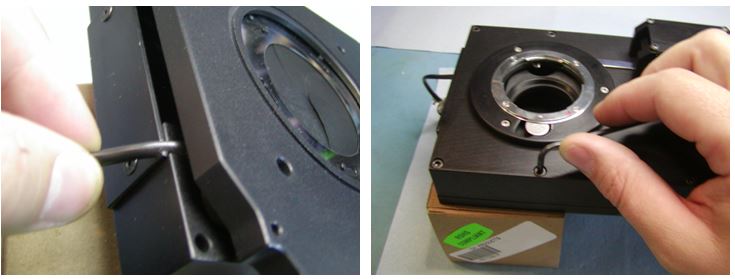
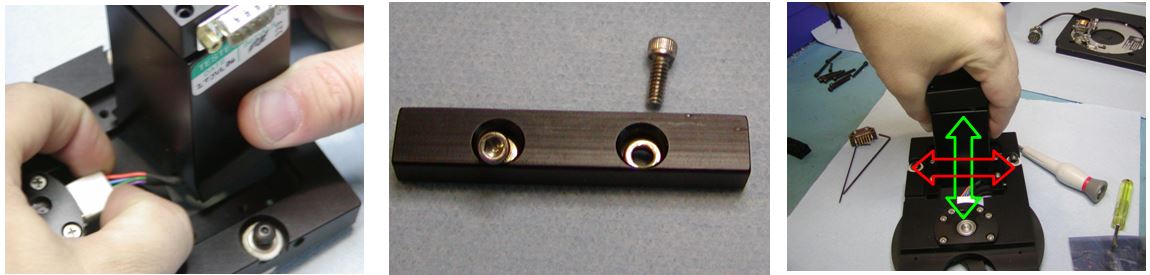
Step 3: Mark the position of the two tensioning screws with a marker or white out and then remove the two tensioning screws. Now, remove the four motor cartridge dovetail retainer screws and set them aside. Unplug and remove the motor cartridge.
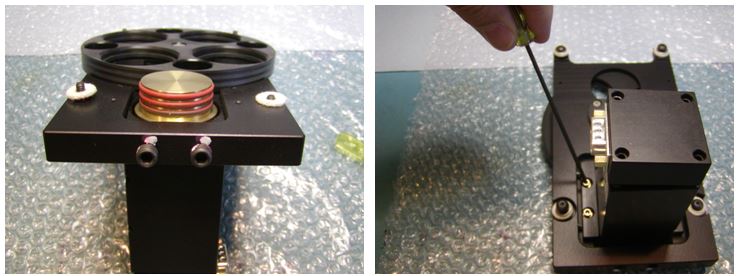
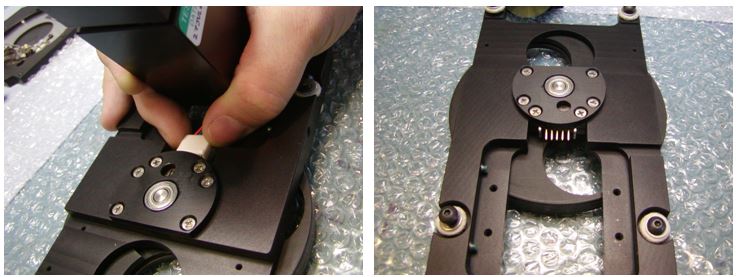
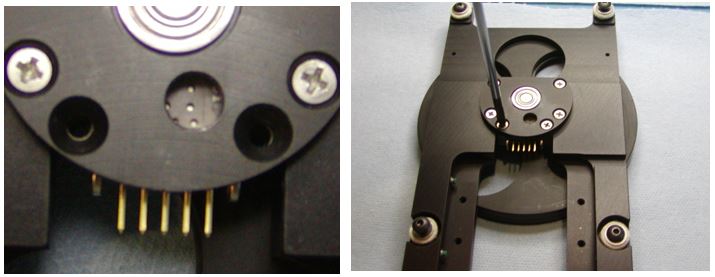
Step 4: Remove the two lower screws from the wheel bearing cover and loosen the other four a quarter turn. Slip two small Allen wrenches into the two side handles of the encoder head and pull the brown encoder head out.
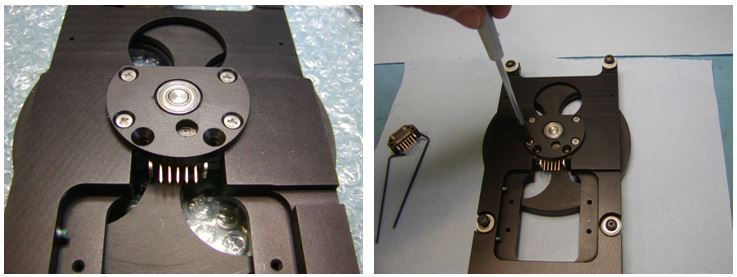

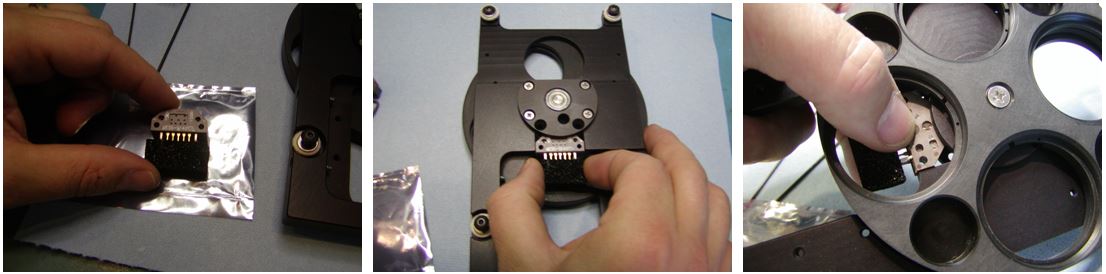
Step 5: Remove the new encoder head from the anti-static bag and press it, white label side up, into the encoder slot. You may have to press the encoder head from the wheel side to get it into the slot. When the head is seated, the mounting holes will be visible and the brown body of the head will not be visible. Replace the screws into the cover and tighten all six screws.
Step 6: Reconnect the motor cartridge to the encoder head. If you have not removed the motor cartridge, continue on to step __. If you have removed the cartridge re-attach the dovetail motor mounts with the Allen wrench. As you tighten the screws tension the dove tails towards the motor with your finger. The motor should not rock side to side but should slide up and down, towards and away from the wheel, with appreciable resistance.
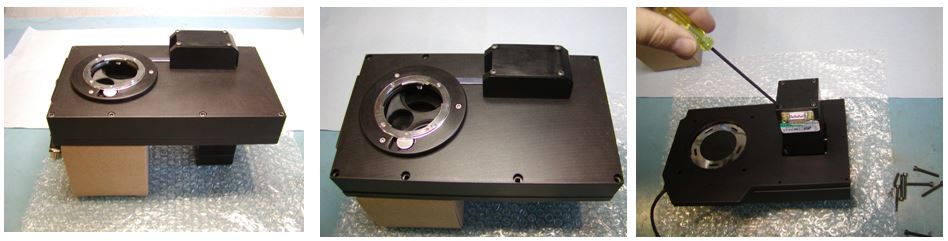
Step 7: Insert the tension springs and tension set screws into the body to the same position as marked previously. Check the rotational torque of the wheel with your finger. The wheel should rotate with drag on the motor but not freely spin or require more than a fingertip to move. Replace the four washers onto the mounting screw felts and place the wheel upright on a box so the cover can be placed over the screws. Wiggle the lid slightly to seat the mounting screws into their holes.
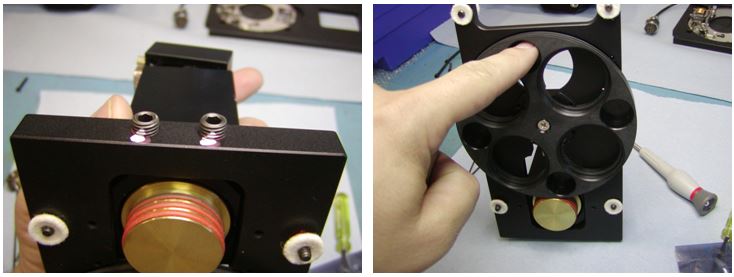
Step 8: Carefully flip over the wheel and tighten the four mounting screws. When finished the heads of the screws and the dovetails should clear the plane of the case. Place the cover on, place the shutter cable into its slot, and tighten the lid on. Next, tighten the motor cover on. Test the wheel for any dragging by rotating it manually and then retry the system.