Changing the Joypod header in a RM-2000
Tools Needed:
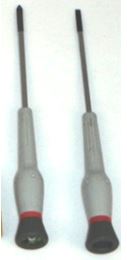
- a medium Phillips screwdriver,
- a small Flat screwdriver,
- a 3/16” socket driver,
- a 16 pin Joypod header and
- maybe a pair of wire cutters.
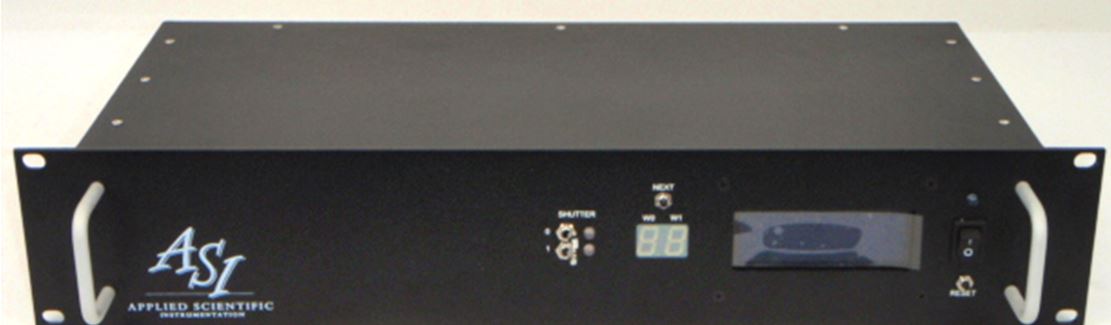
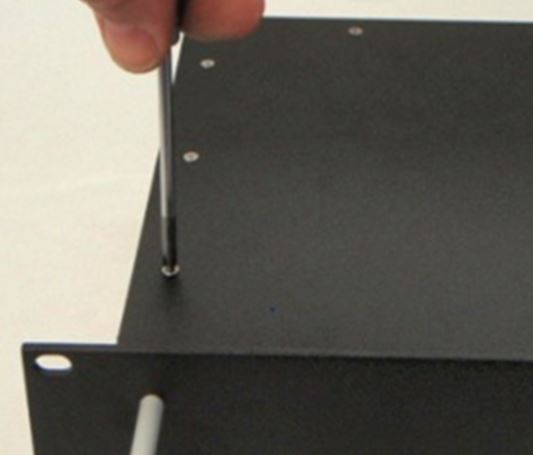
First, using the Phillips screw driver, remove the nine lid screws that attach the top of the rack controller, (see picture above). Three are on the left, three on the right and three in the middle, (see pictures below).

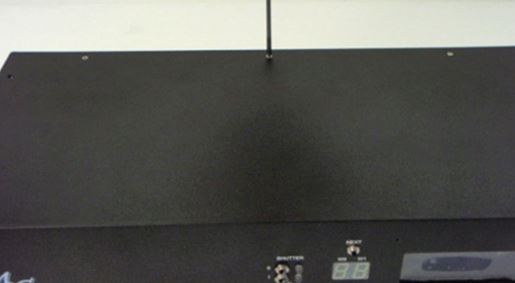
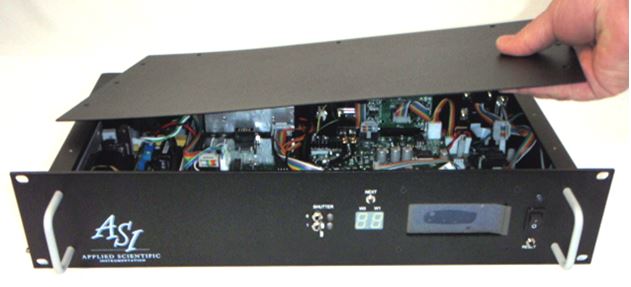
Second, remove the lid and set aside, as seen above. The Joypod header is located inside to the far right on the back of the rack mount. The header is screwed in the case with two 3/16” jack screws, or also two 3/16” jack screws with lock washers and nuts, or some units that have dual joypods have jackscrews on the right side and the left side both held in by two 3/16” jack screws.
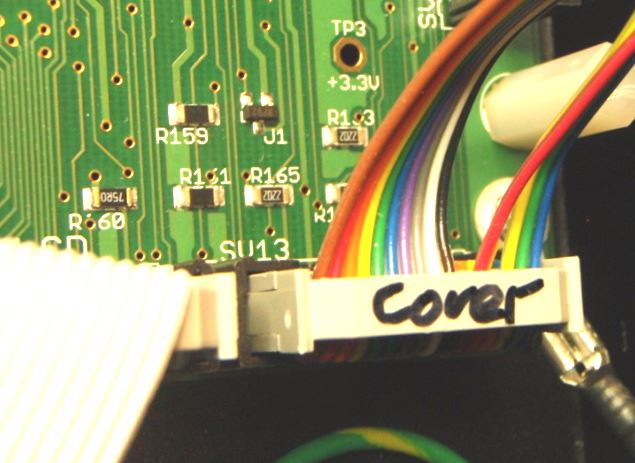
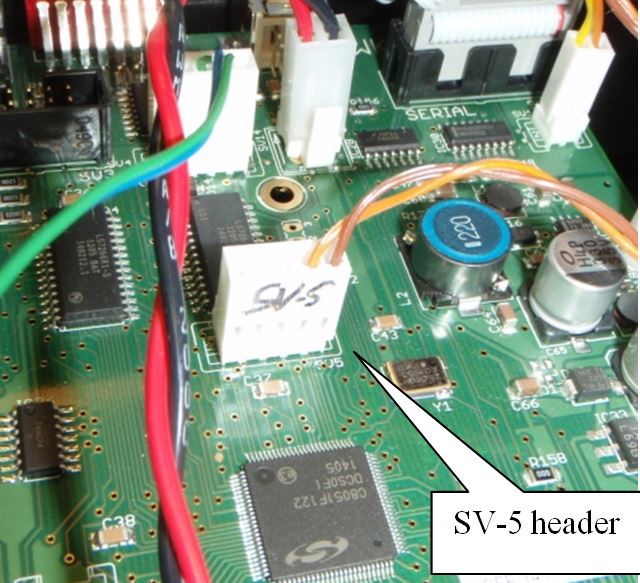
The header connects to the S-13 “COVER” header on the front right of the Mother Board, and some units also have a two wire pigtail going to the SV-5 header or the SV-6 header, (just above the microprocessor for the former and to the left of the microprocessor for the latter). Some rack units will require that you chisel an epoxy seal off the cover headers and board connectors to remove them and others have zip ties that must be cut. If the unit you have is glued remove the glue with the flat head screw driver but be careful not to damage the board or the cables or yourself. Remove the joypod to board headers.
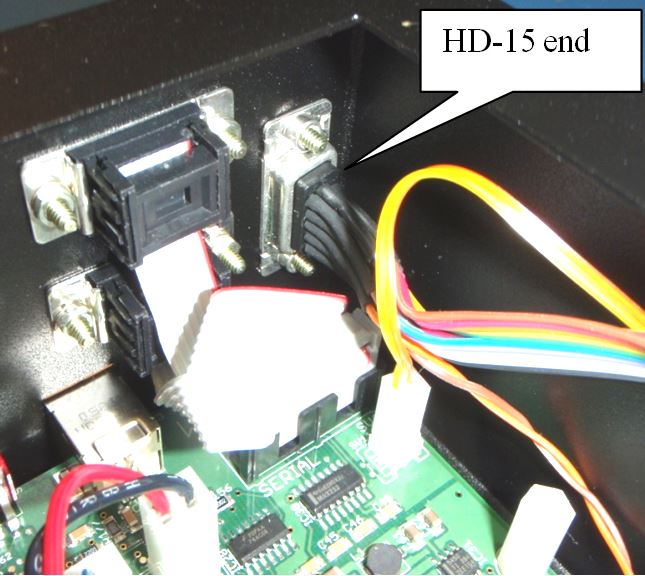
Third remove the jack screws and lock washers and nuts that retain the HD-15 joystick ribbon header and set them and the header aside. The new header only needs the jackscrews to reattach to the back of the case and the other ends at the Mother Board are just pushed in to the same positions they were removed from
Once the header is installed and the rest of the cabling to the stage and the system is connected normally, then test the function of the Joypod in X, Y, and Z directions and test the function switch, if it has a function applied to it.
If everything on the system works then close the top and replace the flat head screws on the lid.
If you have any problems removing or installing the Joypod header contact a ASI technician for further instructions on the procedure so that you don’t get frustrated and so the system doesn’t get damaged.