Table of Contents
Swapping Adept Piezo Boards in MS-2000 and RM-2000 controllers
Tools Needed
You will need the following tools to complete the board swap:
- a medium Phillips screwdriver
- a small Flat screwdriver
- a pair of small wire cutters
- a pair of needle nose pliers and
- optionally a few small zip ties
Part 1 MS-2000 Controller Adept Piezo board removal
First, locate the tools needed to remove the board and a place where electrostatic danger is minimized, either an anti static mat or a wood surface, see picture 1.
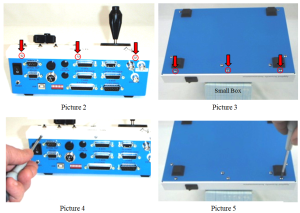
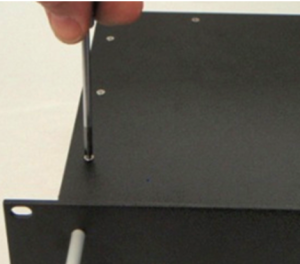
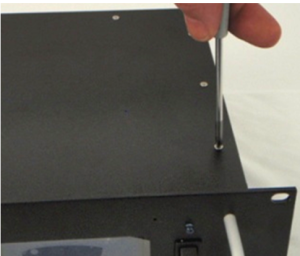
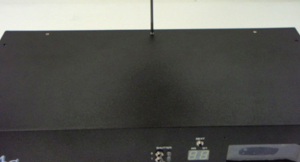
Second, using the Phillips screw driver, remove the three upper screws that attach the top of the lid, see picture 2. Then turn the controller over on a small box or a piece of foam to protect the joystick and remove the three lower screws, see picture 3. Save the screws for reassembly. See pictures 2-5 below.
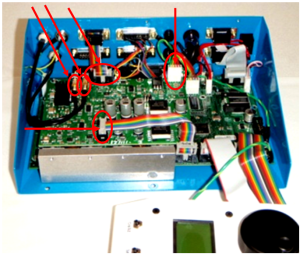
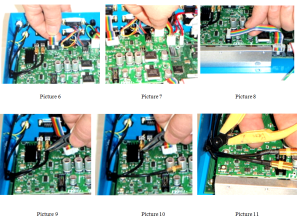
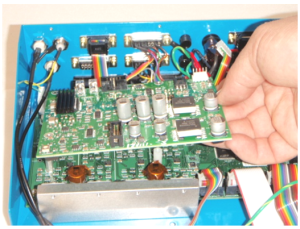
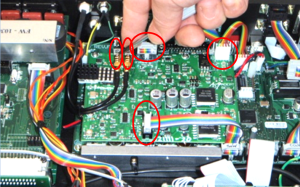
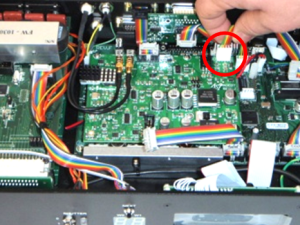
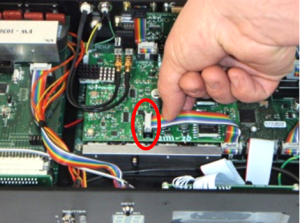
Third, set the lid to the side and remove the three ribbon wire headers and two SMB connectors to the smaller Adept Piezo daughter board that is on top of the mother board, see pictures 6. See pictures 6 through 11 below for examples of each header being removed. Note that the SMB connectors may or may not need to have a zip tie cut with the wire cutters. See picture 11.
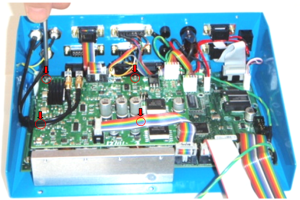
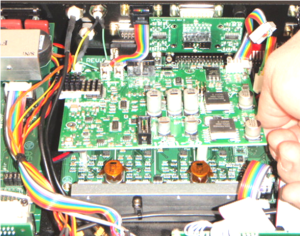
Fourth, remove the four screws holding the board and move the board to an ESD safe location. See the pictures 12 and 13 below. Some screws may be below ribbon wires or headers.
Fifth, Repeat the above process with the other controller and remove the other Adept Piezo board. The Adept boards can now be traded and placed back into the controllers. If you are swapping from a MS-2000 controller to a RM-2000 controller or are swapping from rack to rack you will have to read part 2. Remounting the Adept board and closing the case is the same procedure in the first four steps in reverse. The cut zip ties can be omitted if they are not available. The SMB cables are attached with the case labeled “PZ sensor” to the SMB header marked with the “S” or “Sensor” and the case labeled “PZ Ext. In” to the SMB header marked with the “E” or “Ext. In”
Part 2 RM-2000 (Rack Mount) Controller Adept Piezo board removal
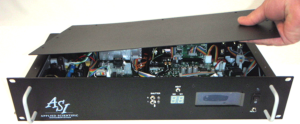
First, using the Phillips screw driver, remove the nine lid screws that attach the top of the rack controller, see picture 14 above. Three are on the left, three on the right and three in the middle, see pictures 15 through 17
Second, remove the lid and set aside, as seen in picture 18.
Warning! Some rack units will require that you chisel epoxy off the Adept Piezo board headers and SMB connectors to remove them.
If that is the case do so with the flat head screw driver but be careful not to damage the board or the cables or yourself, see picture 19.
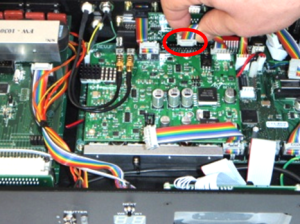
Third, remove the three Adept PZ board ribbon wire headers, and the linear encoder header, and the two SMB connectors from the Adept board, see pictures 20 through 25. Note that the SMB connectors may or may not need to have a zip tie cut with the wire cutters, see picture 26.
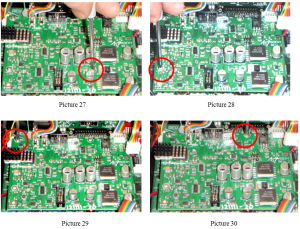
Fourth, unscrew the four screws holding the board and move the board to an ESD safe location see pictures 27 through 31 below.
Fifth, Repeat the above process with the other Rack mount controller and remove the other Adept Piezo board. The Adept boards can now be traded and placed back into the controllers. If you are swapping from a RM-2000 controller to a MS-2000 controller you will have to read part 1, if you have not already, to know how to remove the Adept board from that controller. Remounting the Adept board and closing the case is the same procedure in the first four steps in reverse. The cut zip ties can be omitted if they are not available. The SMB cables are attached with the case labeled “PZ sensor” to the SMB header marked with the “S” or “Sensor” and the case labeled “PZ Ext. In” to the SMB header marked with the “E” or “Ext. In”
If you have any problems removing or installing the Adept Piezo Daughter Boards contact a ASI technician for further instructions on the procedure so that you don’t get frustrated and the system doesn’t get damaged.


